In part one of our Tikit template series, we discussed how and why you should use Tikit templates. In part two, we will guide you through the process of creating templates and how to use them.
If you’ve been looking for a way to minimize bombardment at the IT service desk and reduce steps in the process, look no further. Tikit templates are here to the rescue.
Why Should You Use Tikit Templates?
Tikit templates give IT service desk analysts a powerful way to get more information when a user submits a request. It uses custom forms, so that subsequent questions about the request can be posed to a user during the initial interaction—before a ticket is created.
It’s a simple way for analysts to reduce paperwork and time spent gathering information, fielding repetitive requests—while improving resolution rates.
Sound good? Let’s get started.
Create a Template
To define a template, we need to create the template and its custom form. The template gives us the structure to set values and establish routing. The custom form will contain pre-determined questions that will be directed at the user.
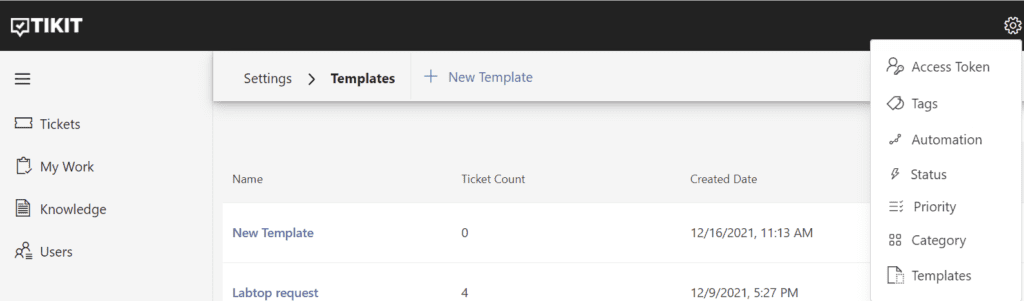
- Once you’re in Tikit, go to “settings” (upper right corner) > and click “templates” from the drop-down list to enter the space where templates are stored.
- Click “new template” from the top navigation.
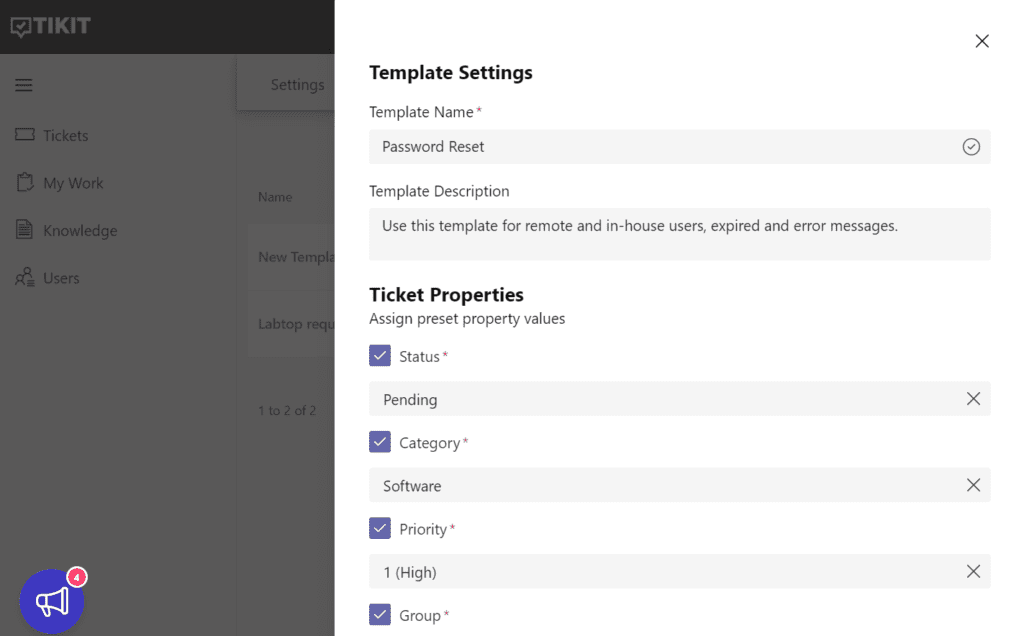
- Fill in the template name, description, and then other values as you see fit, such as the status, category, priority, group and assignee. Then click “next.” This step will allow you to assign pre-set property values when this template is used. For example, when our password reset request comes in, the user will be asked a set of questions from the custom form. When the ticket is created, it will be categorized as a password reset, then a high priority software request that will be routed to a specified group and assigned to a specific analyst, based on how the template is defined.
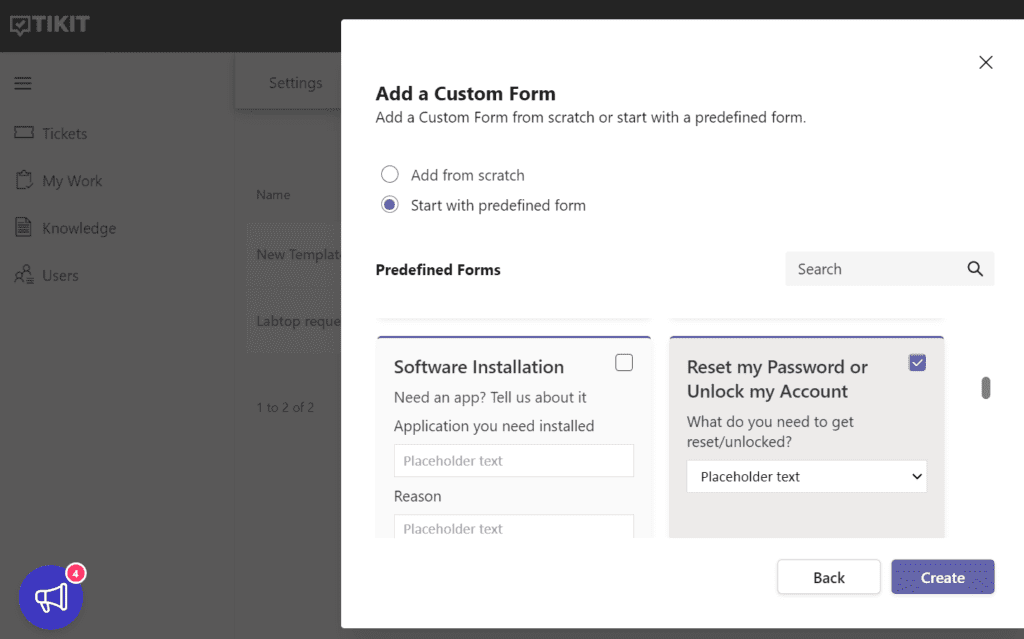
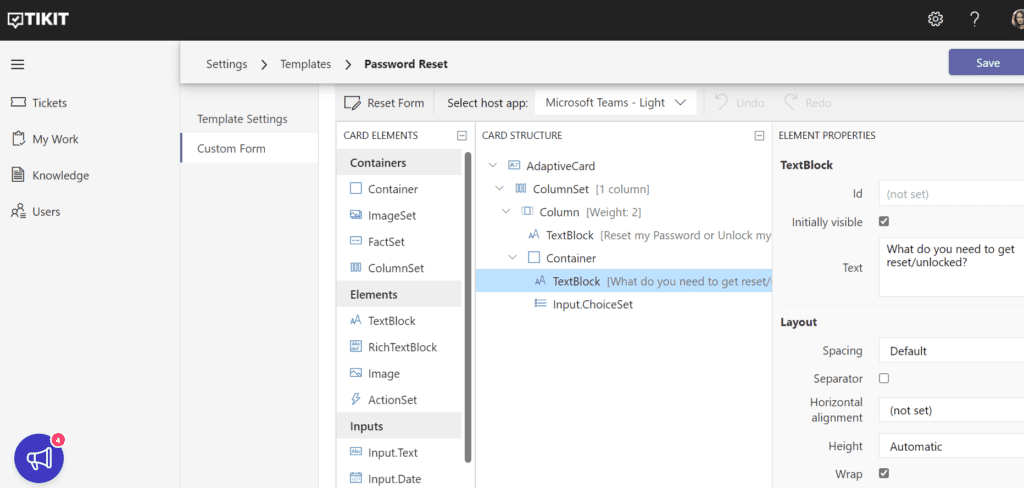
- You’ll be prompted to add a custom form. You can either add from scratch (and customize it entirely) or use a predefined form as is, with the option to customize it. Either way, the form will be sent to the user to get more information, or it can be filled out by an analyst. You can drag and drop style and format elements into the card structure and include questions in the text boxes. In this example, one question we will ask is, “What do you need to get reset/unlocked?” Other questions that might be asked might include:
- Are you a remote user, on VPN, or in the network?
- Are you using a corporate or personal computer?
- Can you log into anything that uses your network credentials (VPN, a Citrix client, the company intranet, Outlook Web Access)?
- Did you receive any expired password notices?
- Are you getting any error messages?
- Have you already tried to reset your password?
- Click “save” on the upper right corner.
Now That You Have a Template, How Do You Use It?
Now it’s time to put the template to use for you or anyone on your team.
In keeping with our password example, when a password related request comes into your ticket queue, open the ticket and select the appropriate template from the drop-down menu on the right side of the screen.
- Select ticket.
- Select “apply template” at the top navigation or on the right pane.
- Search templates from among the list you’ve created.
- The template will tell you it will be applied to a certain kind of request. In our example, it would be applied to a password related request. Click “next.”
- On the next screen, you will be asked, “How do you want to handle the custom form?” You can send the custom form to the requestor via HelpBot, or you can answer the custom form now yourself. Click “save.”
- This form will be lit up on the custom form answer section.
- The analyst can change values if need be.
Now that you have templates and have applied them to tickets, you’ll start to see consistent data in your queues and reports!
This was a tutorial on how to create and apply templates. In part three, we cover: How to Train Tikit and Automate the Help Desk Ticketing Process. To get background on Tikit templates, including why they are helpful to use, check out part one in our template series: Reduce Paperwork in Your Ticketing Process with Tikit Templates.
You can find out more about Tikit’s functionality, backstory and the value of building a service desk in Teams in this guide: How Microsoft Teams Inspired Our Microsoft Teams Service Desk Solution. See how Tikit works in this demo. Or better yet, explore Tikit in a free 14-day fully-functional trial with no credit card needed!